Step by step
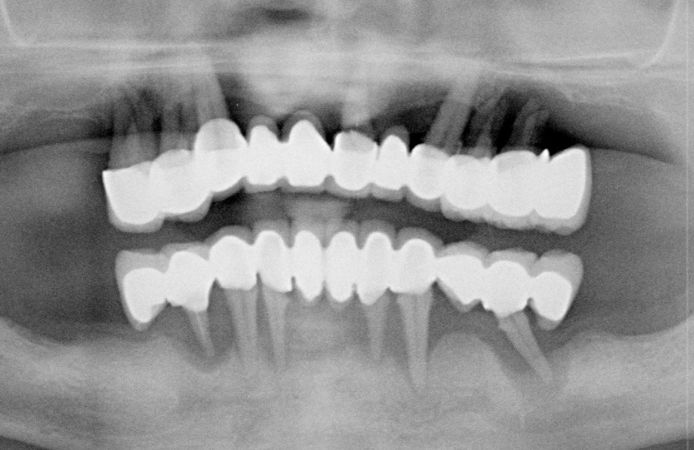
Figure 1.
Pre-treatment panoramic radiograph. The patient had conventional, tooth-supported bridges in both jaws. All teeth were failing and in need of extraction.
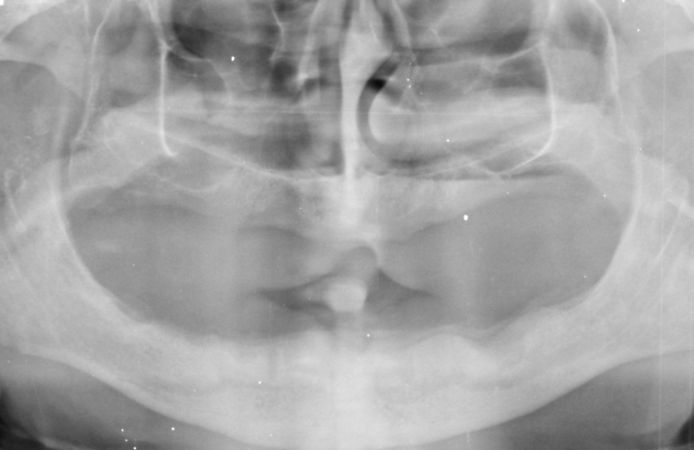
Figure 2.
Post-extractive panoramic radiograph. The patient had severe atrophy of the upper and lower jaws, little attached gingiva in the lower arch with reduced bone volumes both horizontally and vertically.
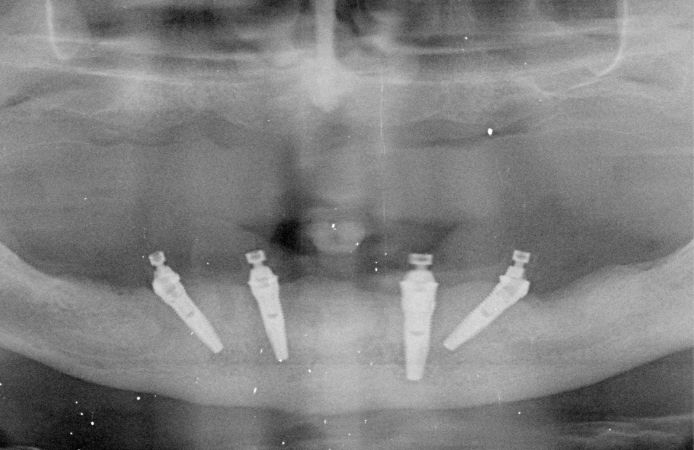
Figure 3.
Panoramic radiograph at time of implant placement, four months after extraction. Four Neoss ProActive Tapered implants were placed in the lower jaw. The two posterior implants were tilted to minimize bridge cantilevers.
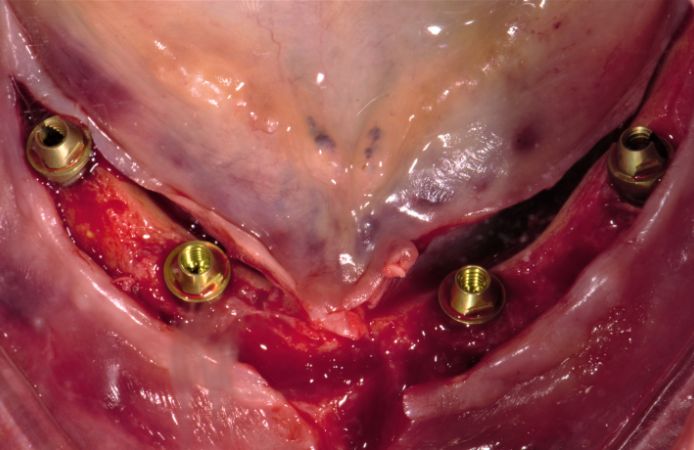
Figure 4.
Neoss Multi-Unit abutments were placed at the time of implant placement . Angulated (30°) Multi-Unit abutments were used on the tilted posterior implants, and straight Multi-Unit abutments were used on the anterior implants.
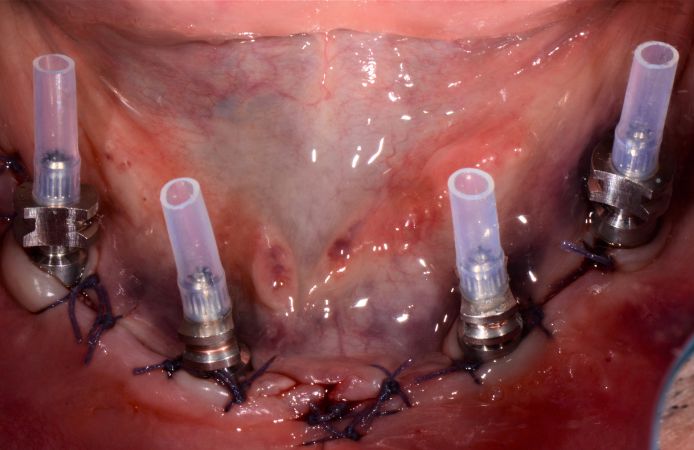
Figure 5.
A conventional impression was taken after tissue closure at time of surgery. Open impression technique and Multi-Unit Impression Copings Open tray were used.
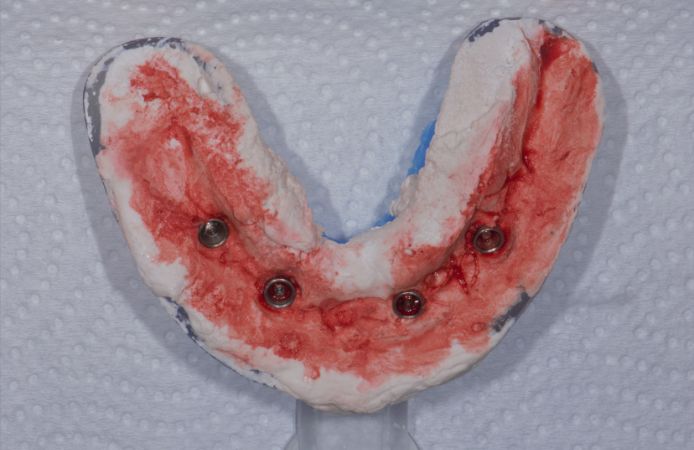
Figure 6.
Impression acquired immediately after surgery.
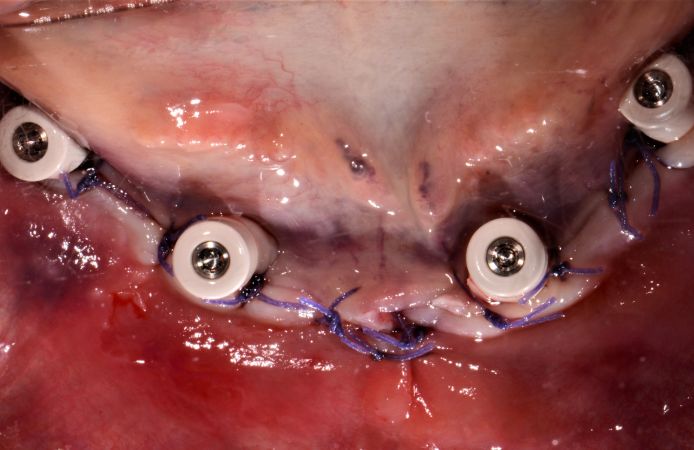
Figure 7.
Multi-Unit Abutment Healing Caps were placed on the Multi-Unit abutments, and the soft tissue repositioned and sutured around the Healing Caps to achieve more attached gingiva on the buccal side.
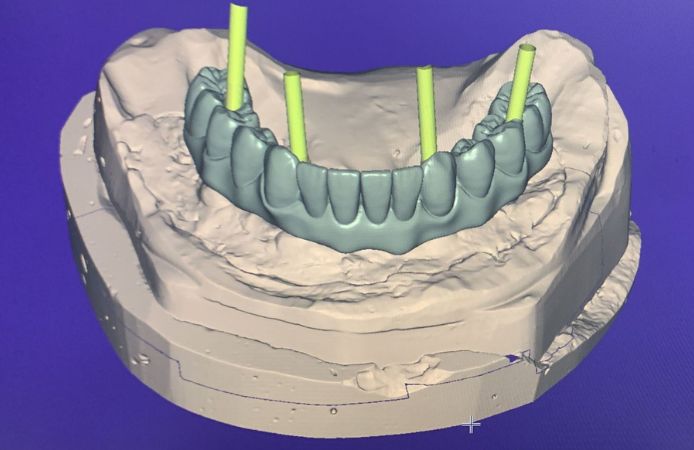
Figure 8.
The model was scanned and a provisional full-arch restoration designed using CAD. Note the parallel interfaces achieved using angulated Multi-Unit abutments.
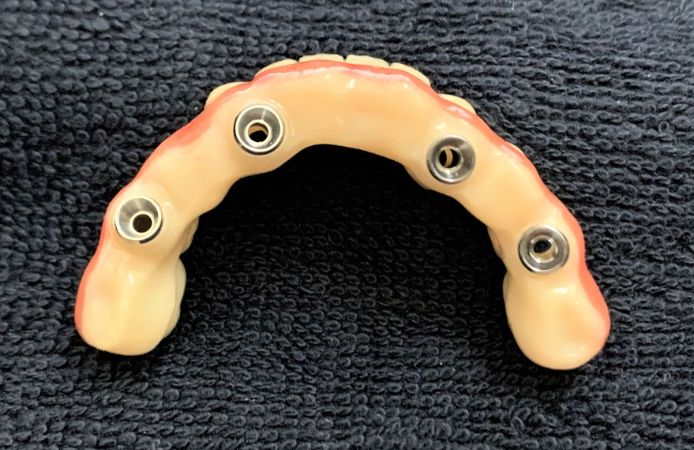
Figure 9.
The dental laboratory milled a provisional screw-retained bridge from reinforced PMMA and bonded onto Multi-Unit Provisional Abutments.
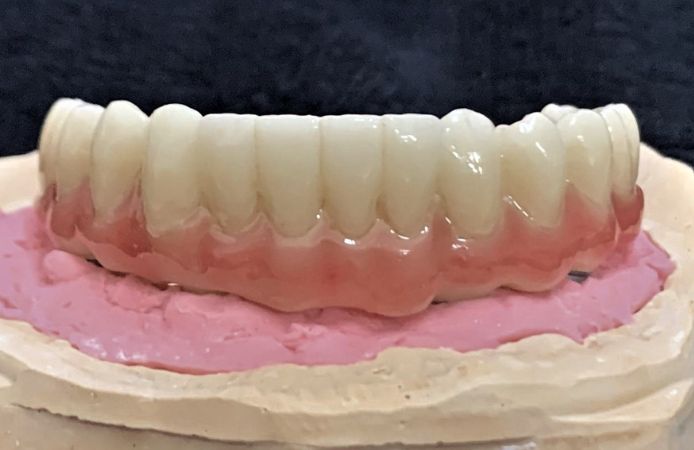
Figure 10.
Try-in of the provisional bridge on the model. Facial view.
Figure 11.
Try-in of the provisional bridge on the model. Occlusal view. Note the short cantilevers achieved using tilted posterior implants.
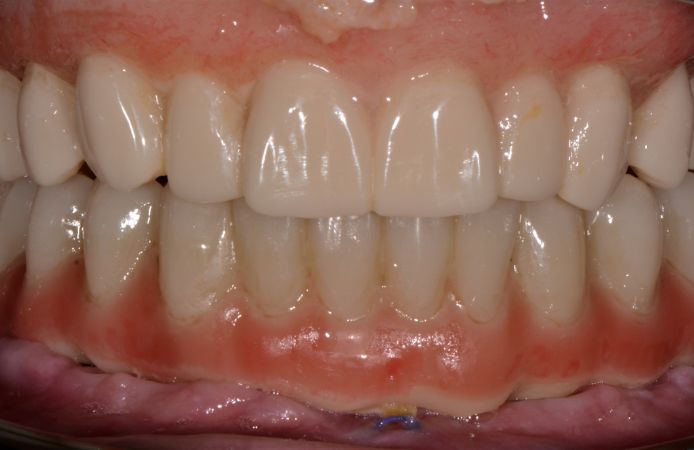
Figure 12.
The patient received the screw-retained bridge in the lower jaw 48 hours after surgery. In the upper jaw the patient was rehabilitated with a removable prosthesis.

Figure 13.
Facial view of the patient with prostheses in place.
"I have used Neoss4+ solutions for more than 10 years and every day me and my team are happy to do surgery and deliver prostheses. The new Neoss Multi-Unit Abutment makes the Neoss4+ concept even more accessible, flexible and simplified."
DR. STEFANO SICURO ; MAGLIE, ITALY 


.png?width=1200&name=Edge%20(1).png)
Downloads
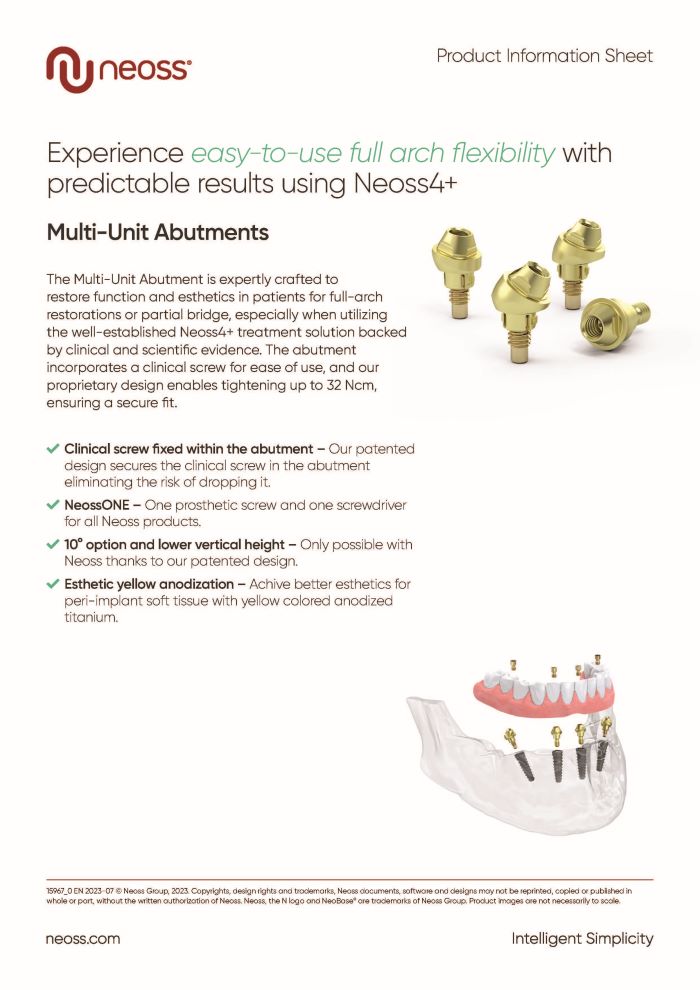
Multi-Unit Abutments product sheet
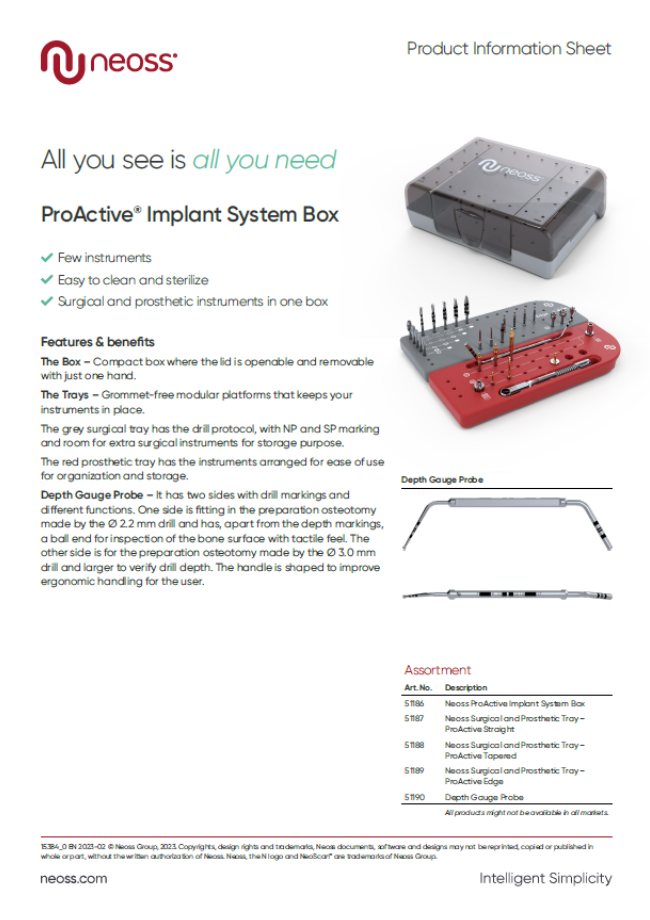
ProActive System Implant Box product sheet