Step by step
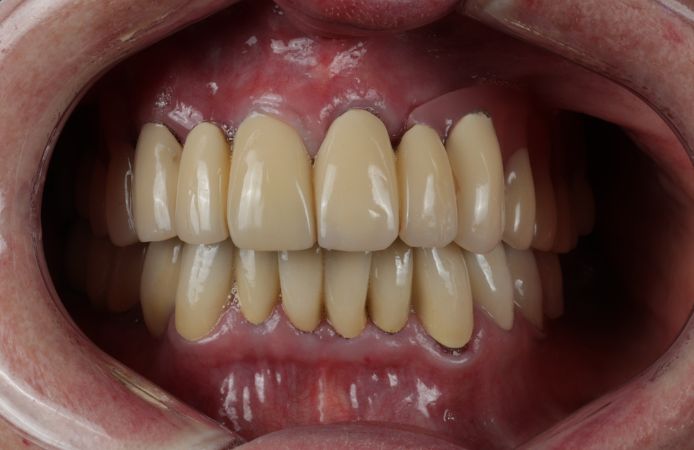
Figure 1.
Initial clinical situation with existing telescopic bridge in place in the upper jaw.
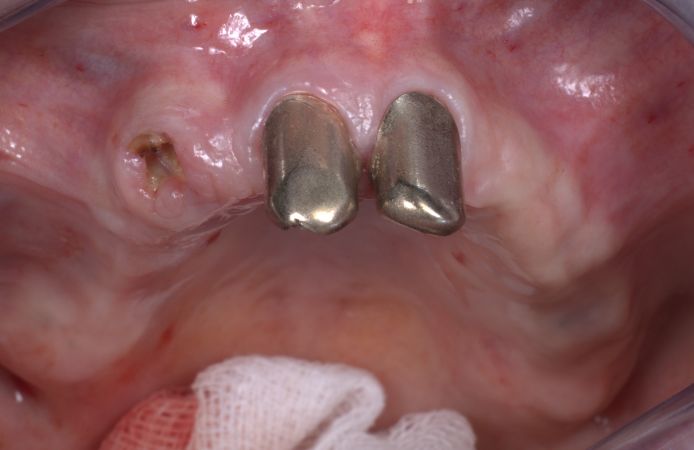
Figure 2.
Initial clinical situation after removal of failing telescopic bridge.
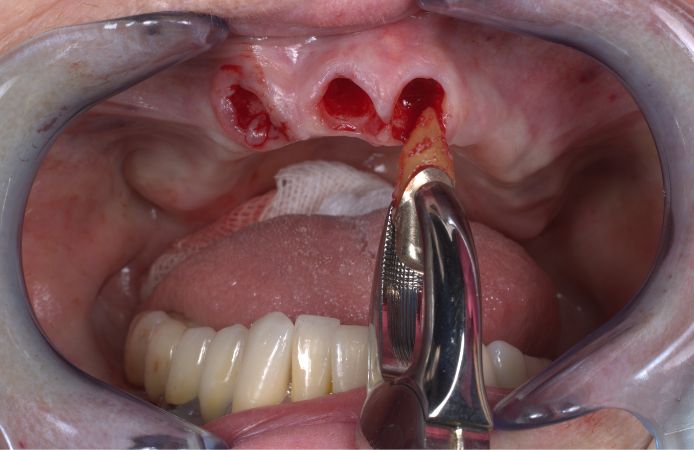
Figure 3.
Extraction of failing teeth in anterior maxilla.
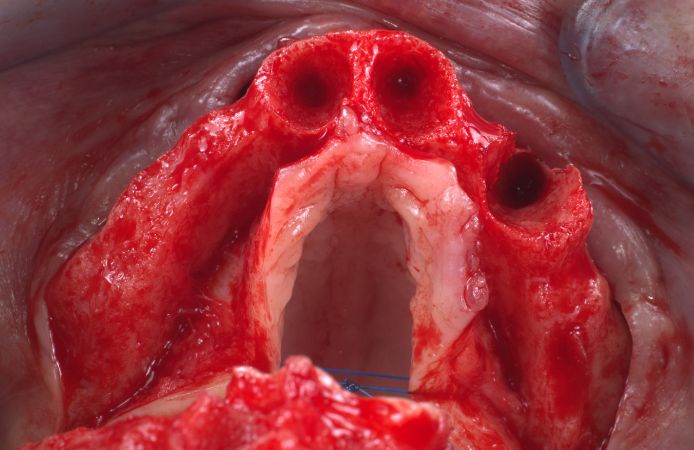
Figure 4.
Occlusal view after extraction. A full thickness flap was raised from molar area to molar area and the bone crest was levelled.
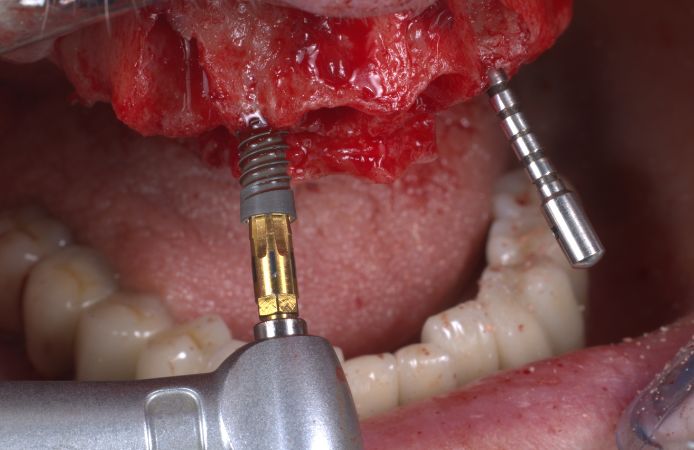
Figure 5.
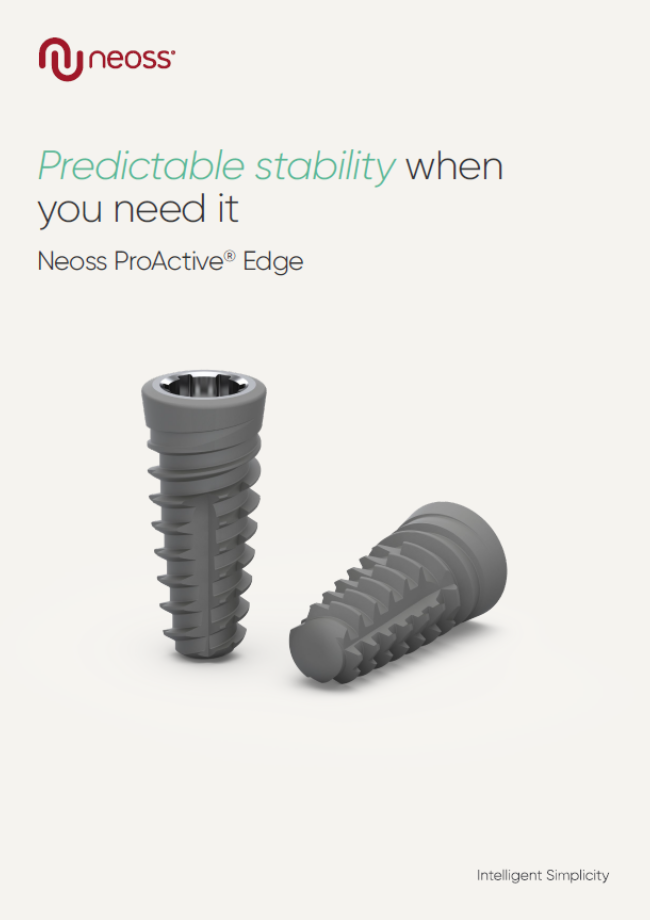
Four Neoss ProActive Edge implants were immediately installed. The anterior implants were 4.0 x 15 mm.
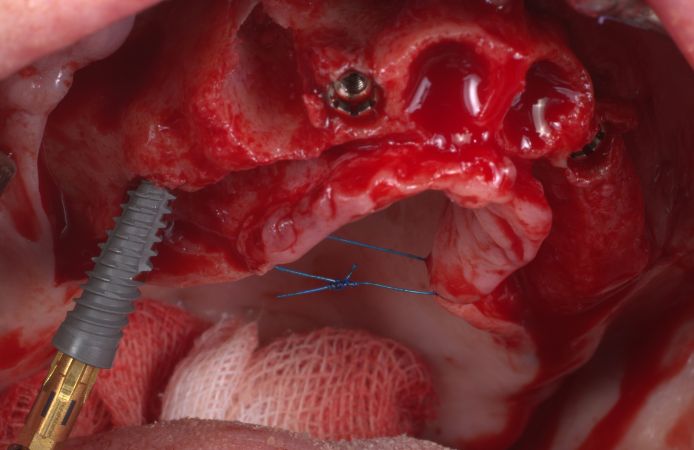
Figure 6.
The two posterior implants (4.5 x 15 mm) were tilted to maximize the distance between the implants, to avoid the sinus, to maximize the contact with available bone, and to increase stability.
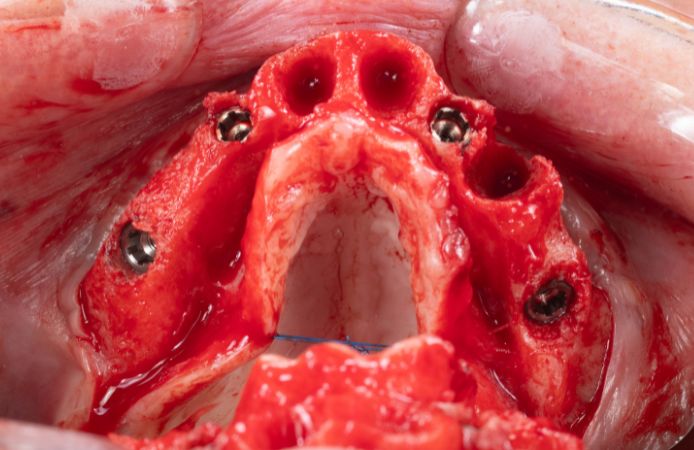
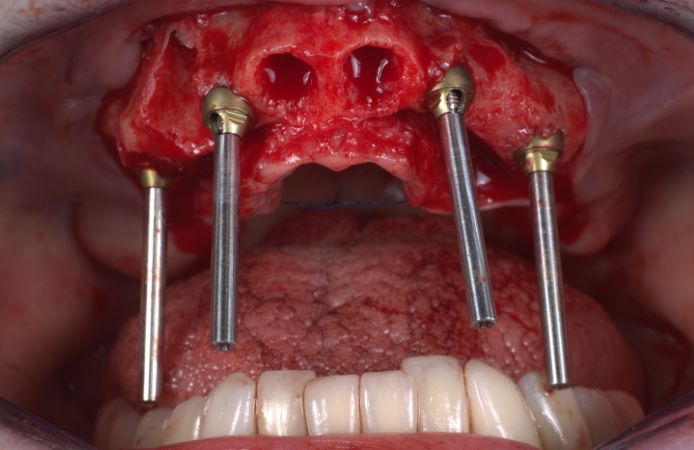
Figure 7.
Occlusal view of the placed implants
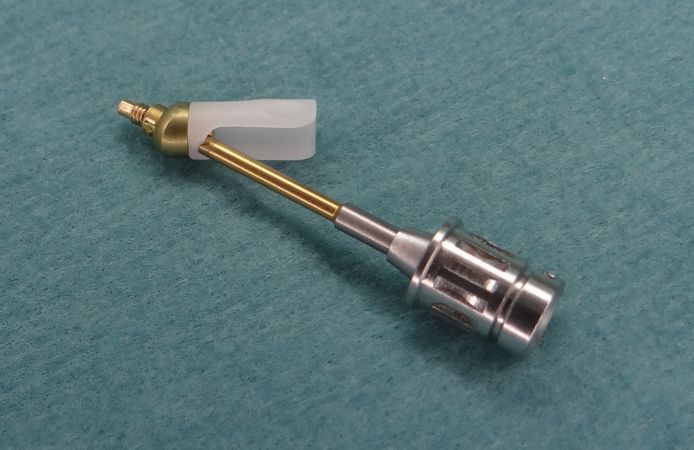
Figure 8.
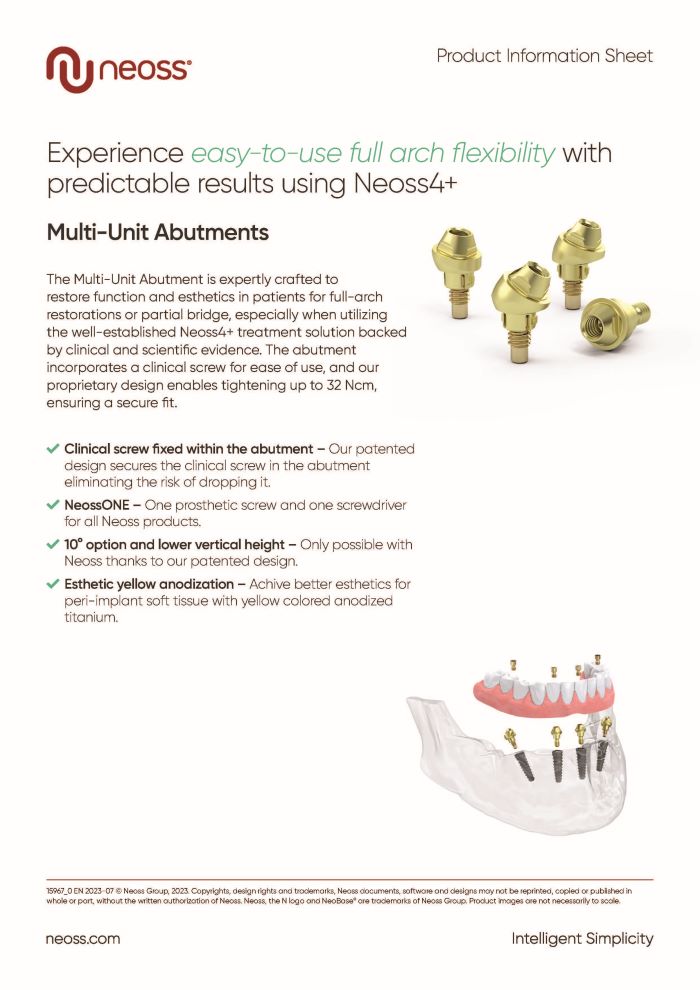
Neoss Multi-Unit Abutment 30° 3.0 mm. The angulated abutments are delivered with a plastic holder to facilitate installation.
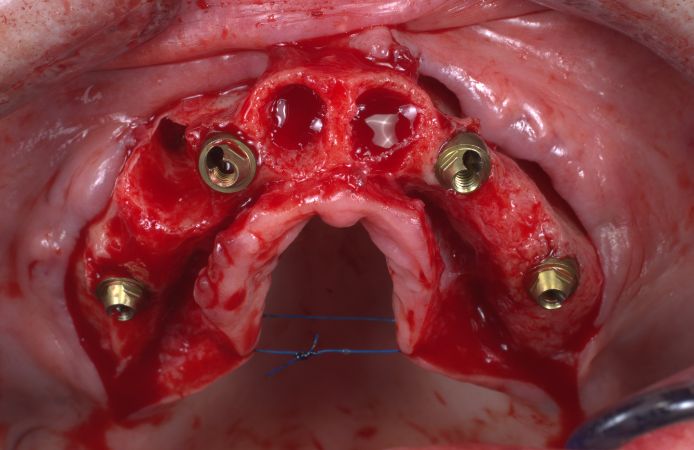
Figure 9.
Placement of four Neoss Multi-Unit Abutments 30° 3.0 mm. The abutments were torqued to 32 Ncm.
Figure 10.
The angulated Neoss Multi-Unit Abutments re-aligned the prosthesis interfaces to achieve a passive fit of the prosthesis.

Figure 11.
Neoss Multi-Unit Impression Copings Closed Tray were placed on abutment level.
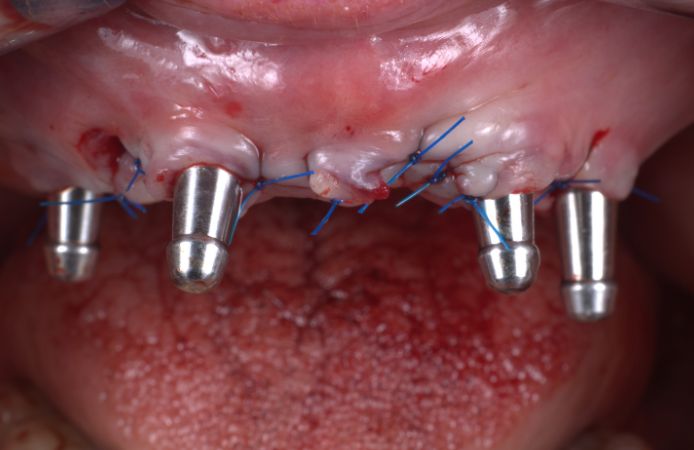
Figure 12.
Soft tissue sutured around impression copings for impression taking using closed impression technique.
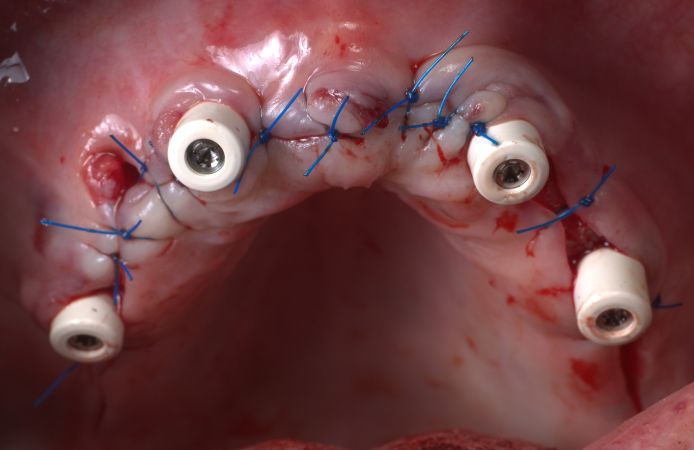
Figure 13.
Neoss Multi-Unit Healing Caps were placed on the Multi-Unit abutments.
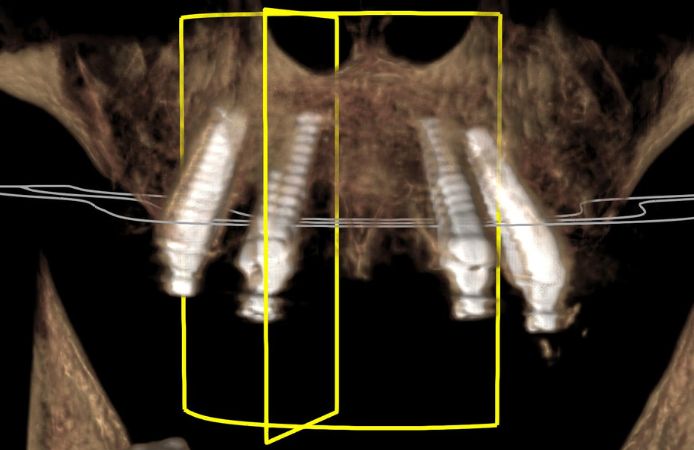
Figure 14.
CBCT image showing implant positions and re-angulation with Multi-Unit Abutments to achieve parallel prosthetic platforms.
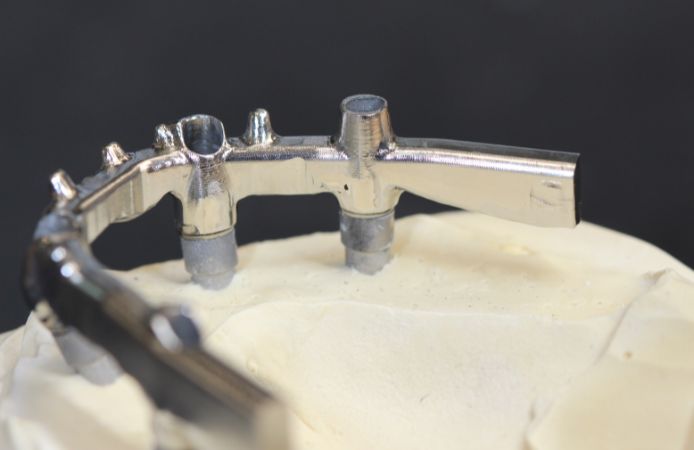
Figure 15.
Sheffield testing on model to check passive fit of the provisional framework on implants.
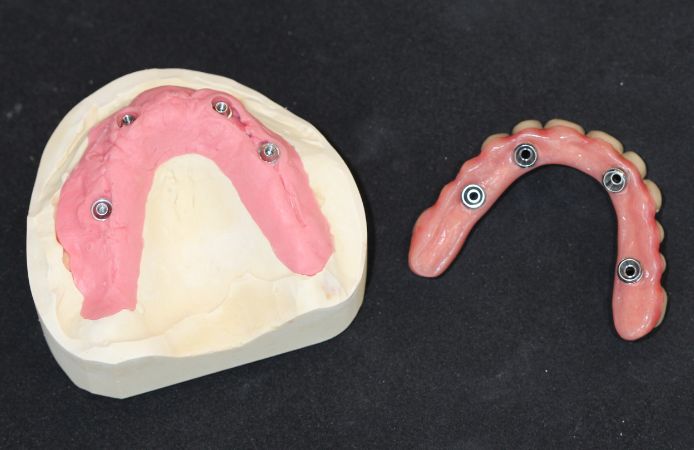
Figure 16.
A metal framework covered with composite was manufactured in the lab. Try-in of screw retained provisional restoration on model.
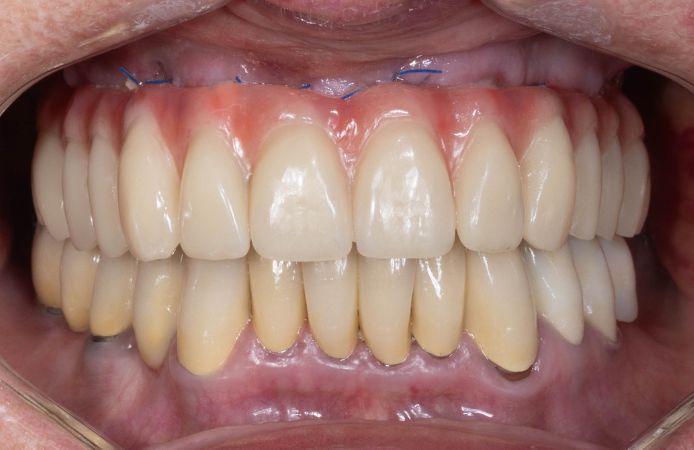
Figure 17.
The provisional restoration was delivered the day after surgery. Facial view.
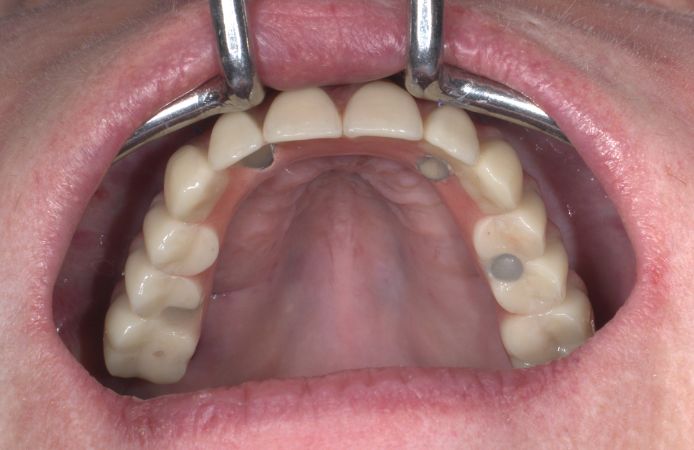
Figure 18.
Provisional restoration, occlusal view.
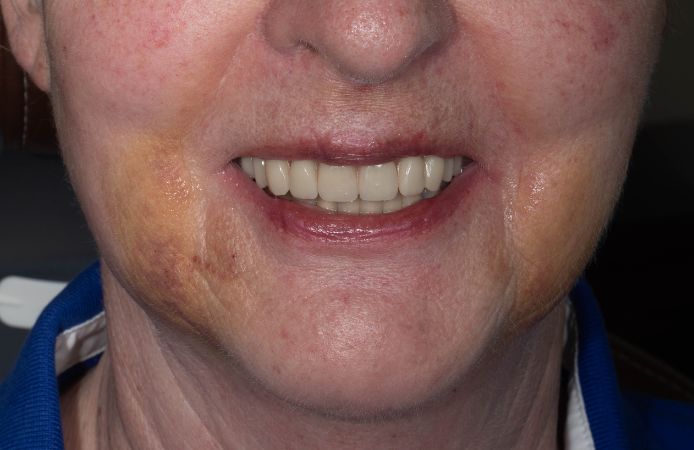
Figure 19.
Facial view of patient when removing stitches 7 days after surgery.
“Multi-Unit Abutments expand possibilities once more while the fundamental core idea of the system remains unchanged - simplicity together with dental solutions at the highest level.”
Dr. Dr. Dominic Hützen, MD, DDS, Implantologist Germany 

.png?width=1200&name=Edge%20(1).png)

Downloads
Neoss4+ behandlingslösning
Multi-Unit Distanser produktblad
Neoss ProActive Edge