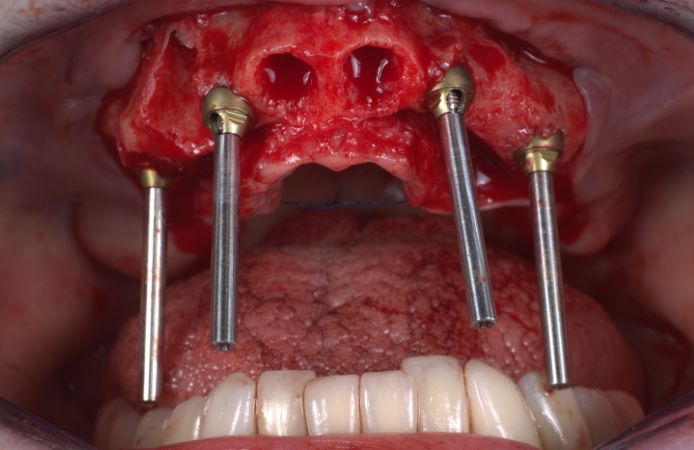
Immediate implant placement in the maxilla and full-arch rehabilitation
Dr. Dr. Dominic Hützen, MD, DDS
Implantologist
Mülheim an der Ruhr, Germany
Case facts
Patient:
A 78-year-old female patient in generally good health.
Clinical problem:
The patient presents with a failing tooth-supported telescopic bridge in the maxilla. The remaining maxillary teeth cannot be saved and require extraction.
Clinical solution:
The extraction of three maxillary teeth, followed by the immediate placement of four implants. Two of the posterior implants are placed at an angle for optimal support. Multi-Unit Abutments are installed immediately after implant placement. A provisional screw-retained bridge is placed on the same day as the surgery, with the final prosthesis scheduled for future placement.
Treatment plan:
– Extraction of three maxillary teeth.
– Immediate placement of four implants.
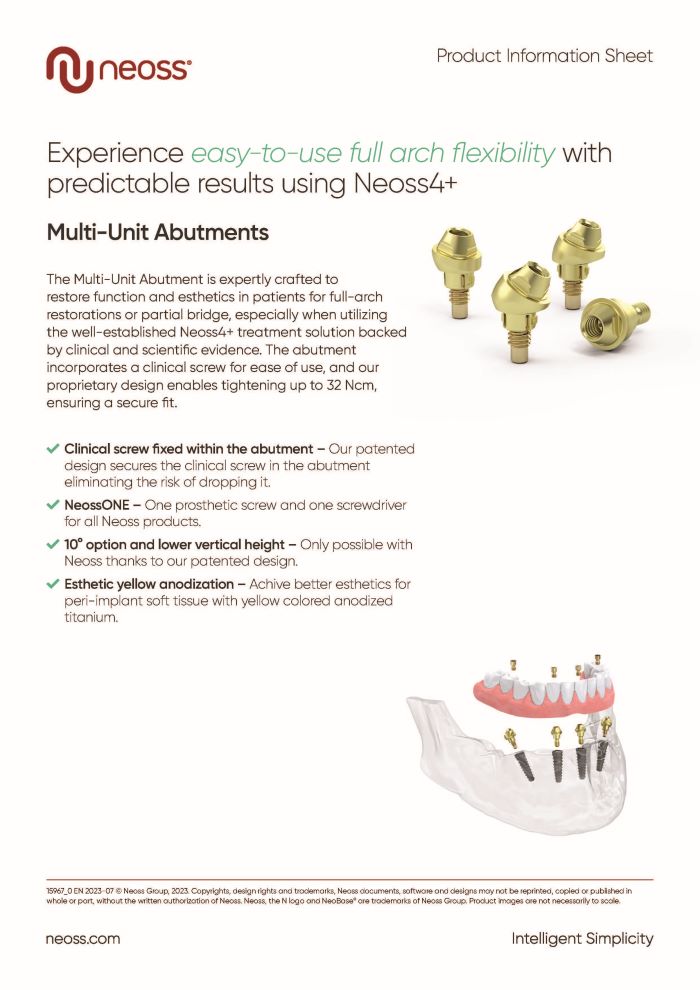
– Installation of four Multi-Unit Abutments.
– Use of four Multi-Unit Impression Coping Closed Tray.
– Application of four Multi-Unit Healing Caps.
– Installation of provisional screw-retained bridge.
Products:
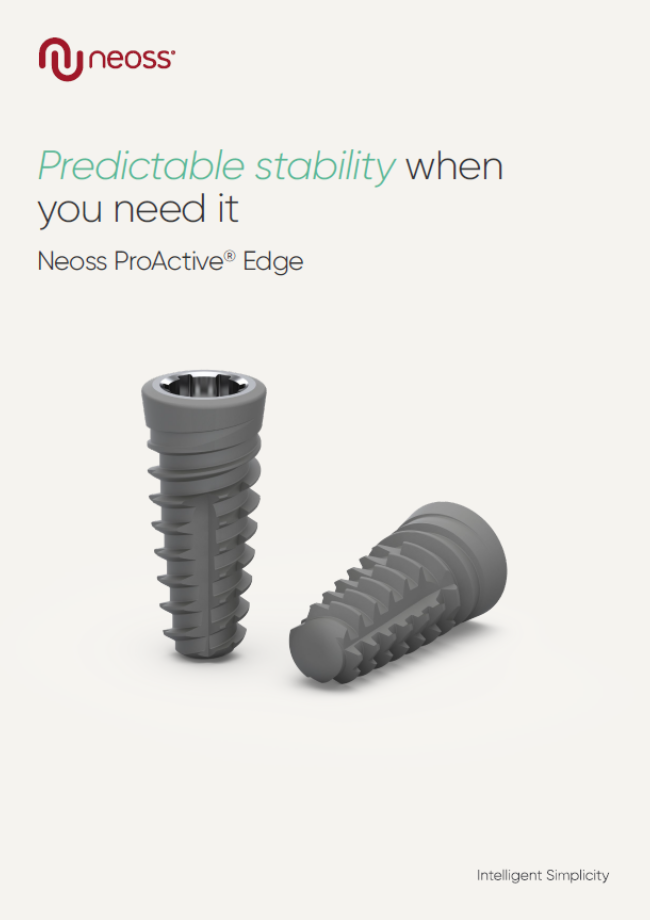
4 Neoss ProActive Edge implants
4 Multi-Unit Abutment 30° 3.0 mm
4 Multi-Unit Impression Coping Closed Tray 6 mm
4 Multi-Unit Healing Cap
Conclusion:
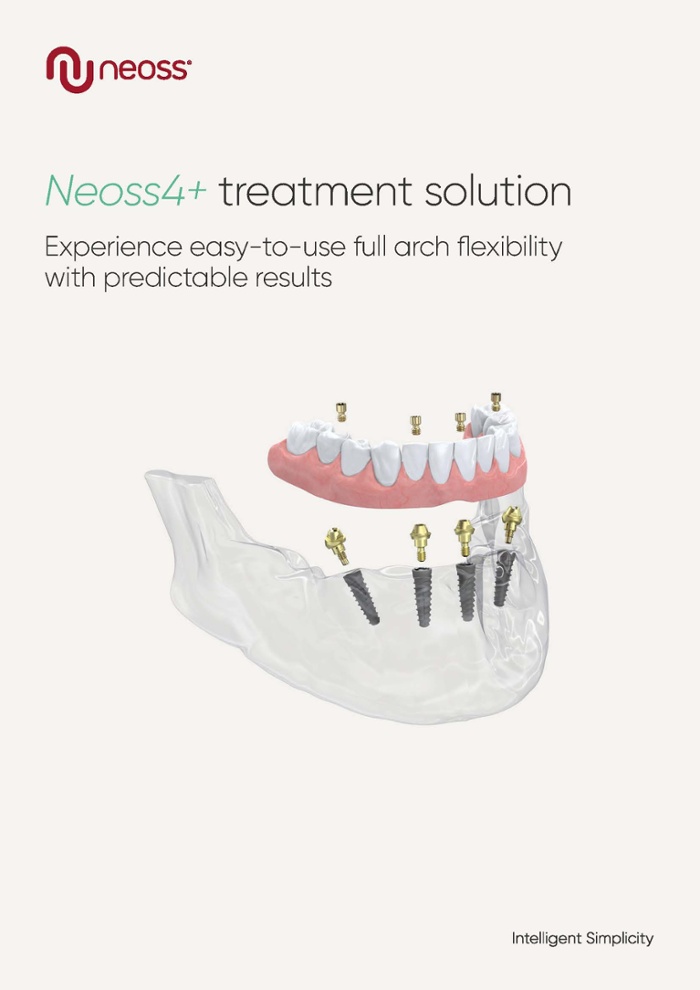
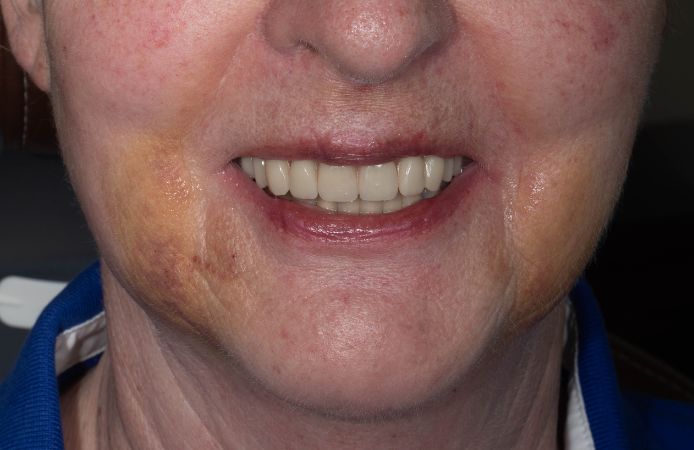
The Neoss4+ treatment solution for the upper jaw involves the placement of four implants with Multi-Unit Abutments. A provisional screw-retained prosthesis is fitted on the same day as the surgery, with plans for the final prosthesis to be placed at a later date.
Step by step
Step by step
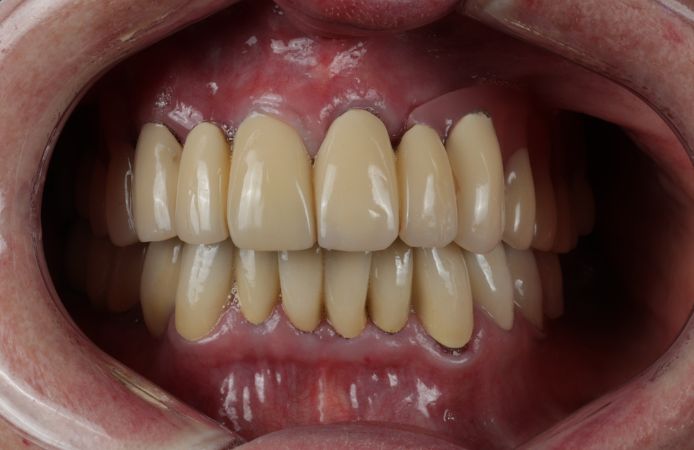
Figure 1.
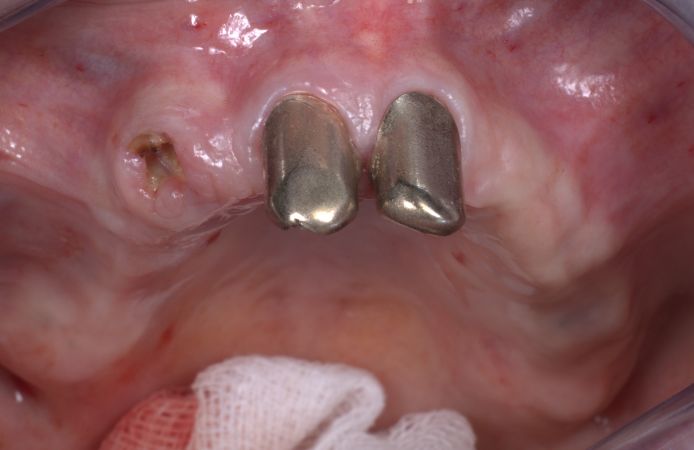
Figure 2.
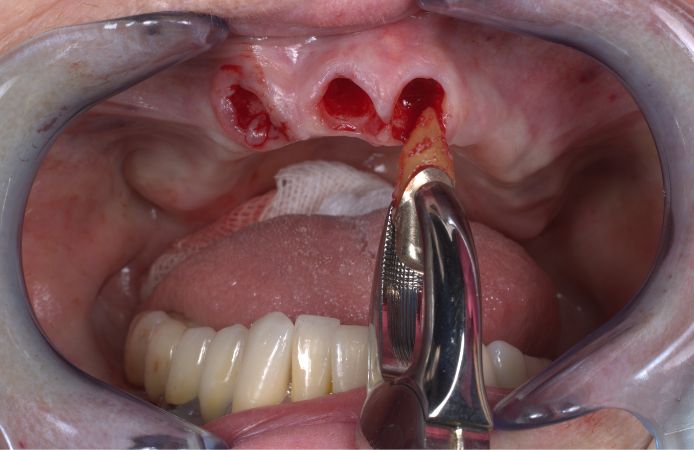
Figure 3.
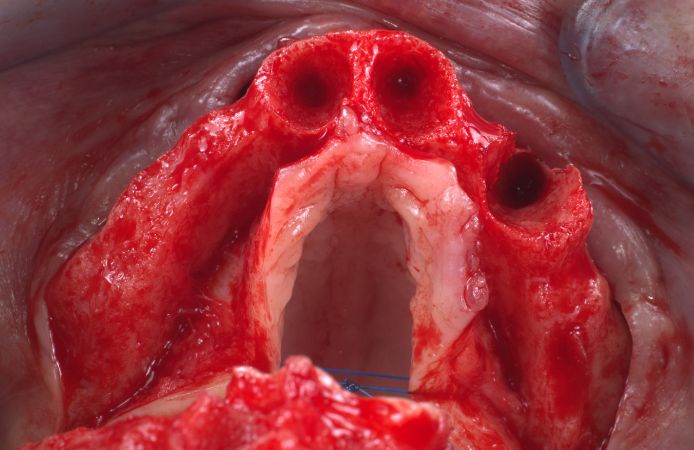
Figure 4.
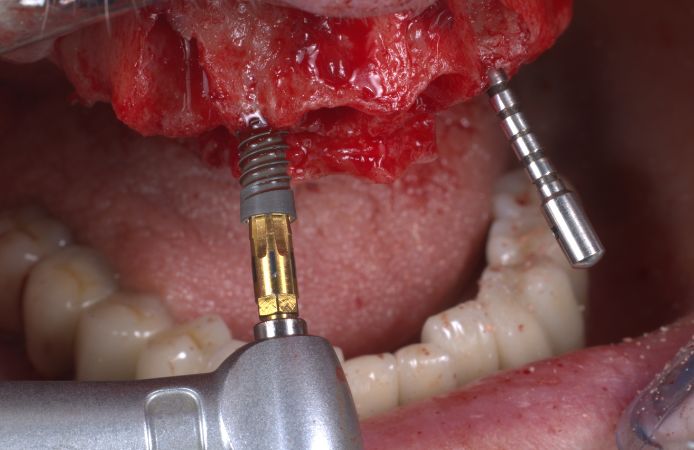
Figure 5.
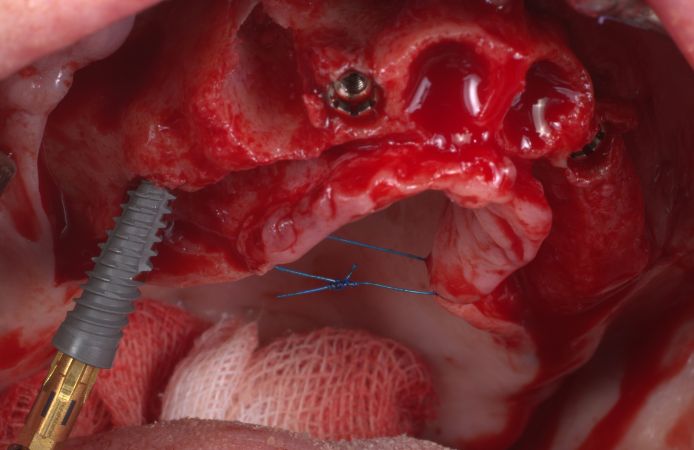
Figure 6.
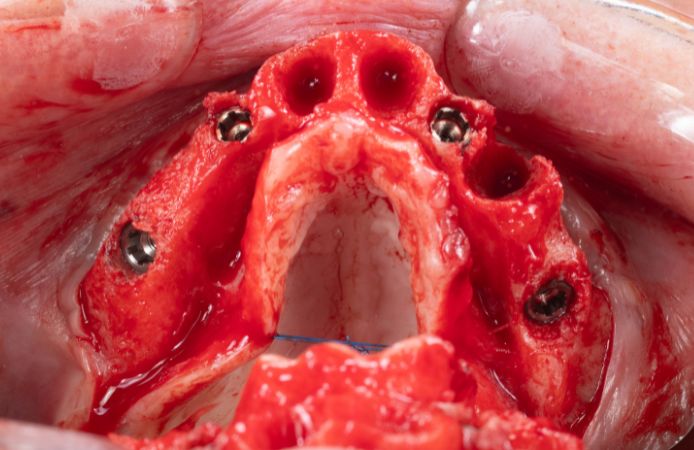
Figure 7.
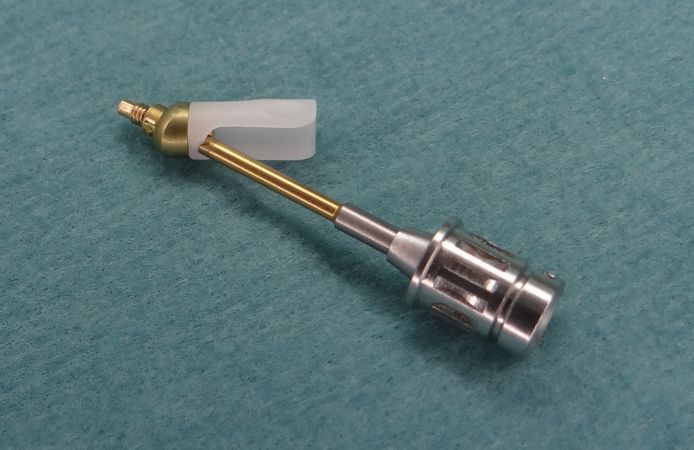
Figure 8.
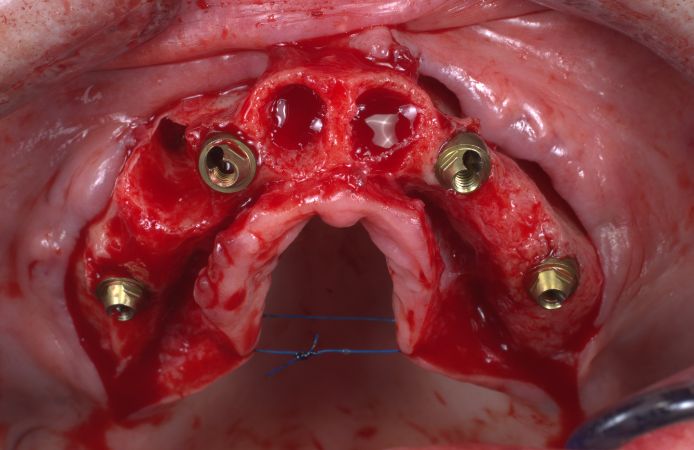
Figure 9.

Figure 10.
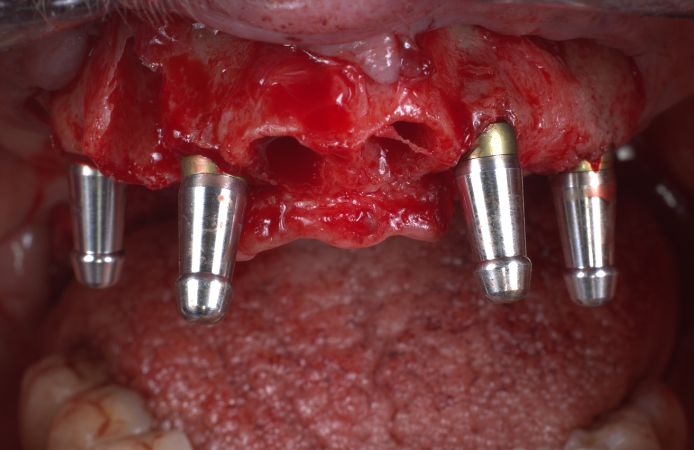
Figure 11.
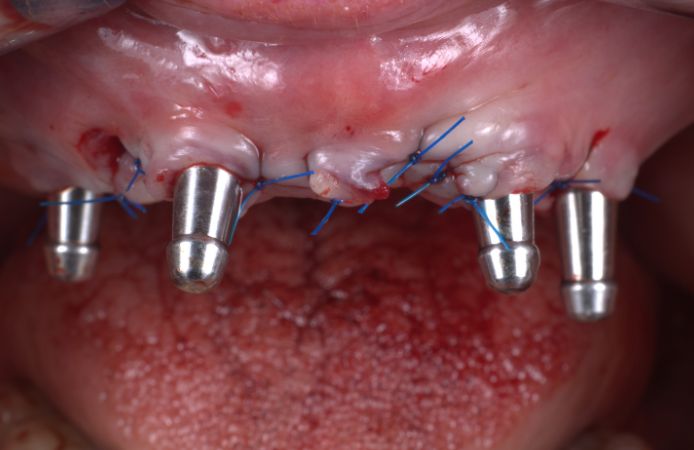
Figure 12.
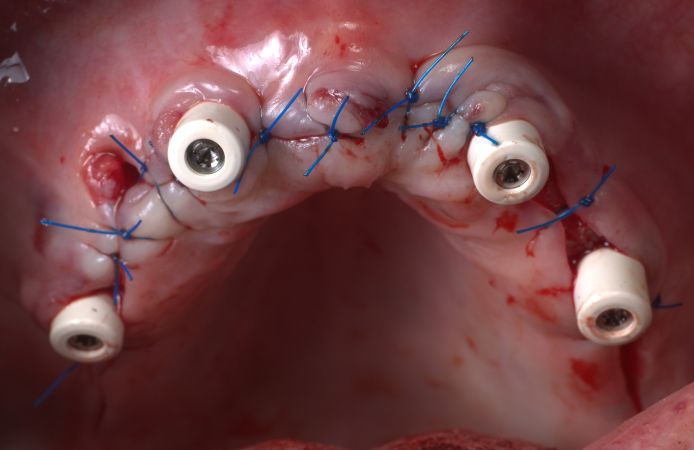
Figure 13.
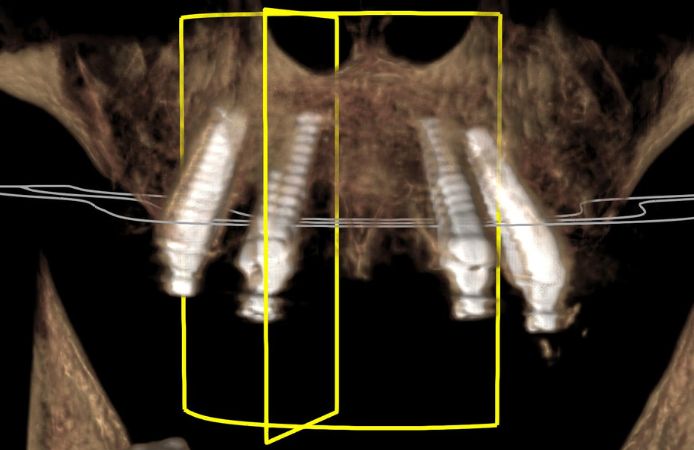
Figure 14.
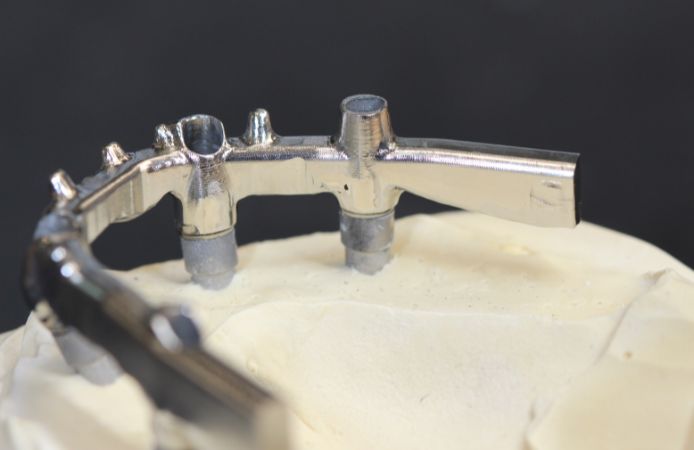
Figure 15.
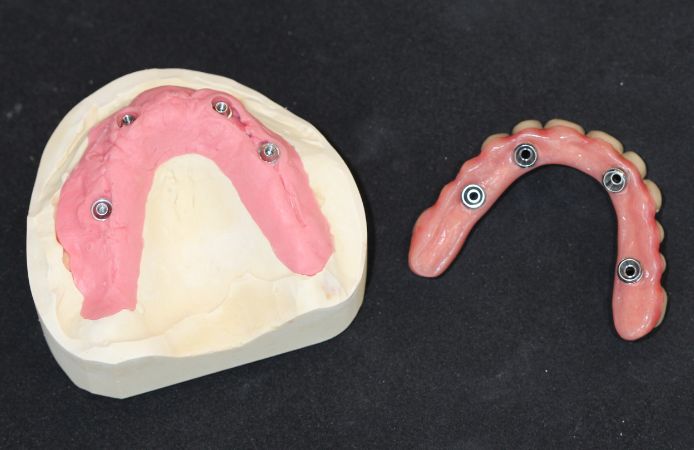
Figure 16.
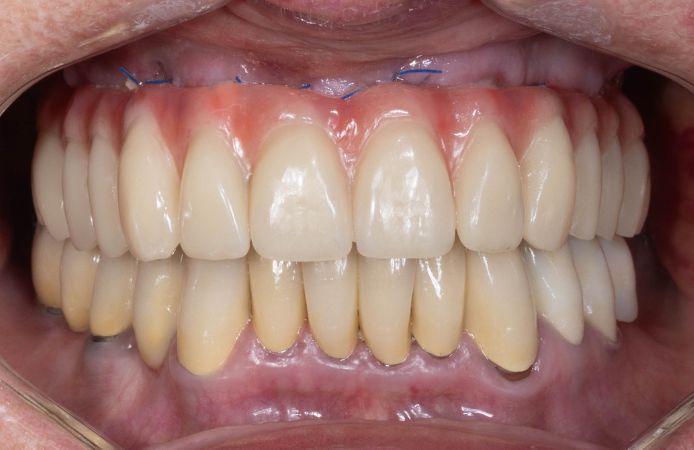
Figure 17.
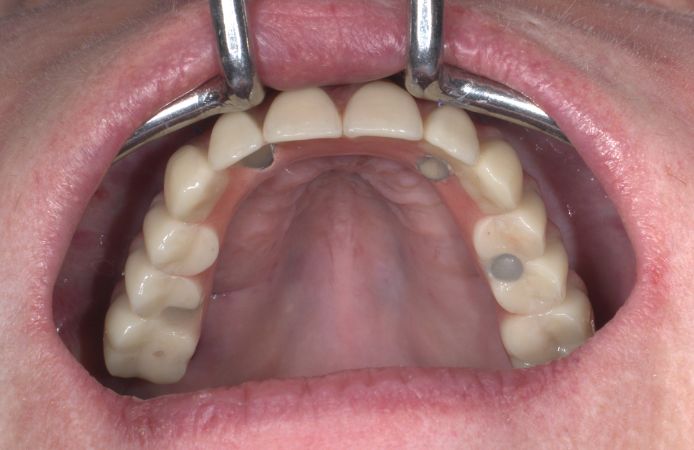
Figure 18.

.png?width=1200&name=Edge%20(1).png)

